Artykuły / Articles
After installing the Linux operating system and LinuxCNC software, you need to create your own machine configuration to start controlling the machine. The most popular and the most commonly used method of machine control is control via the parallel port of the LPT computer. A configurator (so-called Wizard) called Stepconf Wizard is provided with LinuxCNC. Stepconf Wizard is used to create your own machine configuration using LPT as a computer interface.
To start the Stepconf Wizard, go to the menu: Programs-> CNC-> Stepconf Wizard

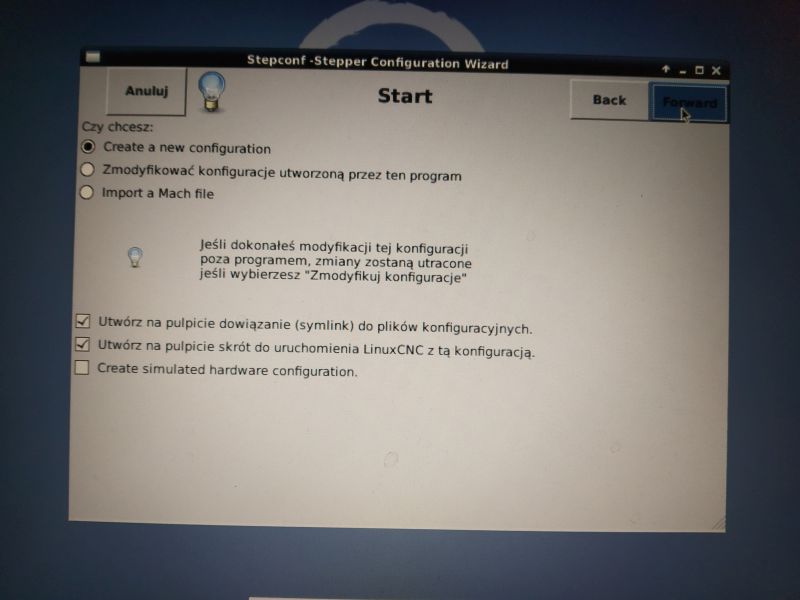
The wizard will start. Click next.

We create a new configuration (option Create a new configuration) and click next.
In the next window, enter the name of your configuration (preferably the name of the machine), select the axle configuration and default units.
We also introduce controller time parameters - these are stepper / servo motor controllers. We should find time dependencies in the driver documentation.
We choose whether the machine will use one or two parallel ports. We also start the Latency-Test by clicking the Test base period deviation button

The test window will start. See article LinuxCNC - hardware requirements for correctly performing the Latency test.

After completing the Latency test, save and enter the value of the deviation into the window: Maximum deviation of the base period.

As you can see the computer from the example shown has a long delay. This is quite a large value if you want to use the computer's LPT port. However, it is a great solution for computers with a high base period deviation - namely the use of Linumeric-LPT or MachMaker USB-LPT adapter which has a Jitter elimination mechanism and is also suitable for computers with high values of this parameter.
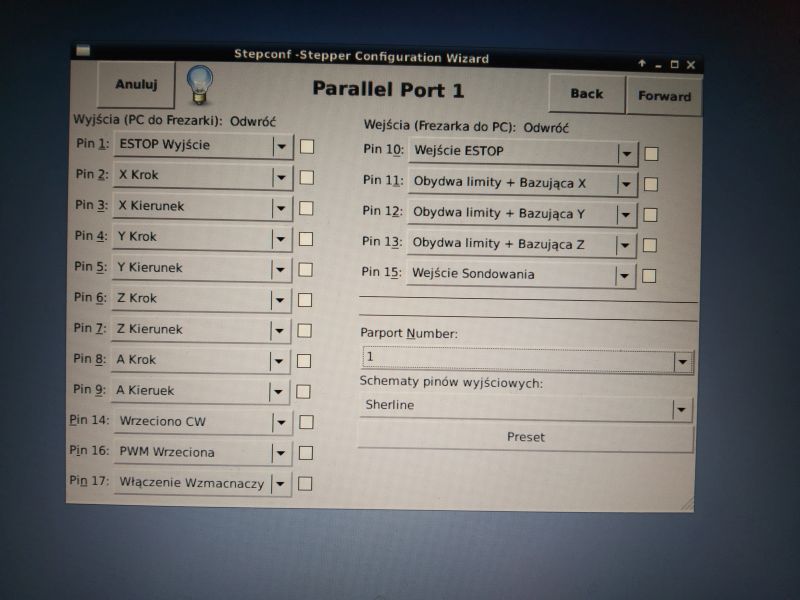
Click next. In the next window we set the inputs and outputs. We also enter the LPT port number. Click next.
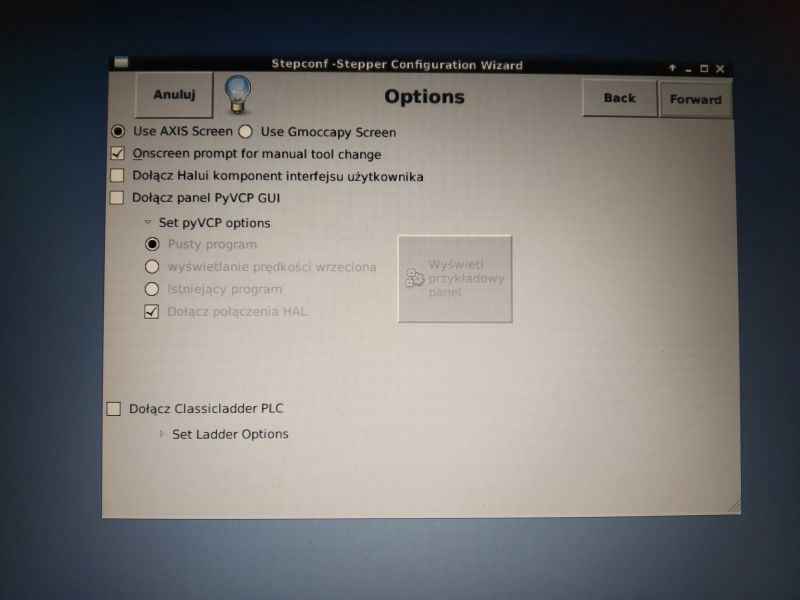
In the next window we choose the type of window and additional panels. Click next.
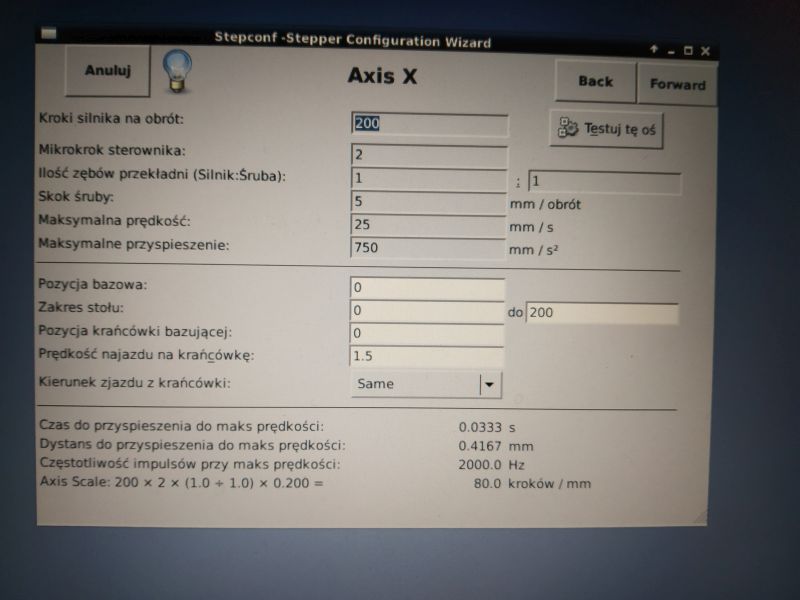
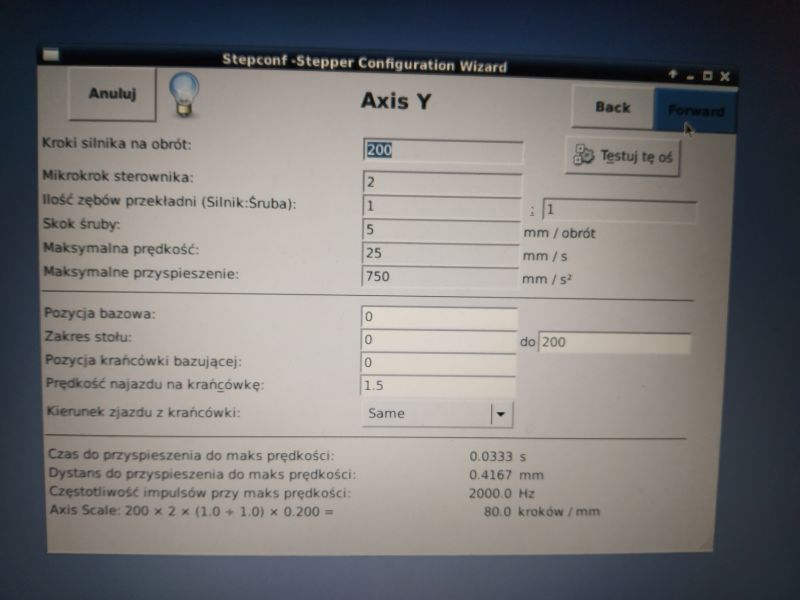
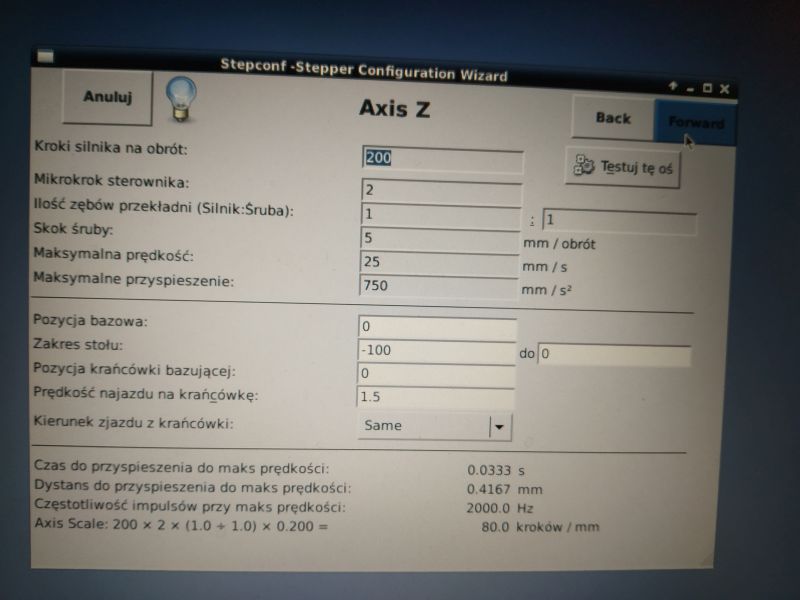
Next, we configure the machine axes in turn (number of steps, speeds, ratios)
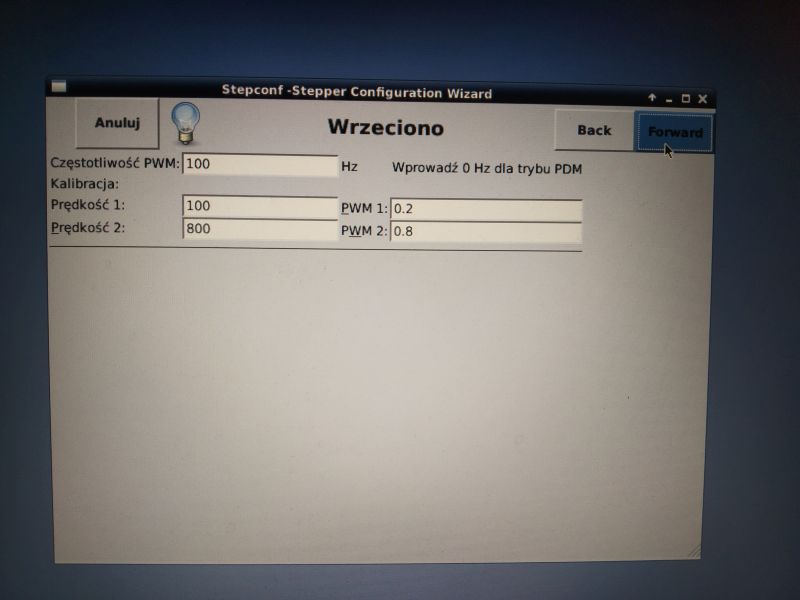
We configure the spindle (frequency and 2 values which PWM value corresponds to which speed - choose values and enter)
And we finish the configuration.
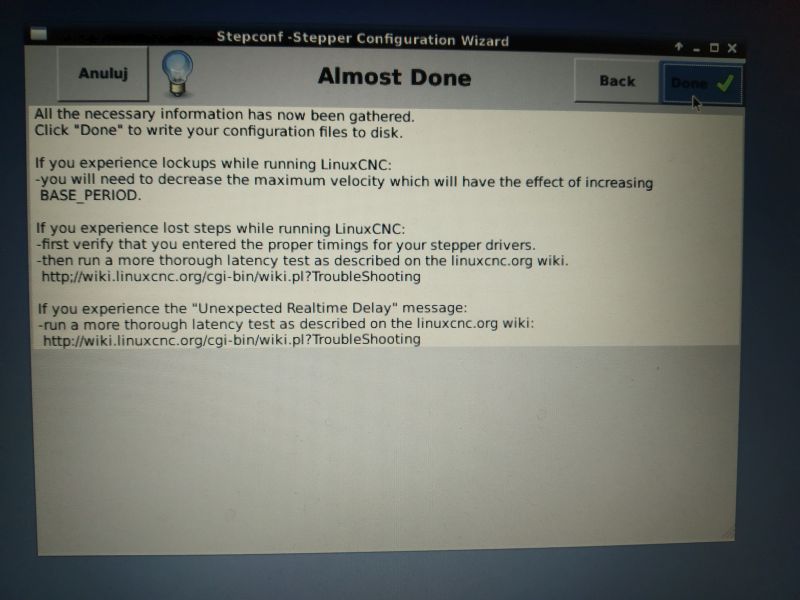

After the configuration is completed, an icon will appear on the desktop to start LinuxCNC with this configuration and a folder (link) with the configuration settings.

To run LinuxCNC with this configuration, simply double-click the icon, in this case start my-milling machine.
A detailed description of the configuration can be found at:
https://linuxcnc.org/docs/2.6/html/config/stepconf.html
Unfortunately, the Stepconf Wizard configurator is very general and does not allow you to configure each machine accurately. It often happens that you need a setting that cannot be entered using the configurator. In fact, the wizard is used only once to pre-build the configuration and the other settings are already entered manually into the configuration files.
To get to the configuration files, just open the folder with the name of your configuration that was created on the desktop.

The most important configuration files are:
-Name-konfig.ini
Here you can find the initialization parameters to run your configuration. Description of parameters and ways of configuring the .ini file can be found at:
https://linuxcnc.org/docs/2.6/html/config/ini_config.html
-Name-config.hal
Here you will find operating parameters, port operating modes, axis settings, input / output settings, etc.
Description of parameters and ways of configuring the .hal file can be found on this page: