Artykuły / Articles
This article will introduce the fastest and easiest way to install LinuxCNC, namely installing LinuxCNC 2.7.14 Debian 7 Wheezy from the finished .iso image.
To learn about other installation methods, please read the article LinuxCNC installation - which option to choose?
Before installing LinuxCNC, please check whether your computer is suitable for this application and possibly make some preparations. More in the article LinuxCNC - hardware requirements
An internet connection is needed to install the system.
Step by step installation procedure
1. To start with, download the installation image from http://linuxcnc.org/downloads/ or by clicking the link
2. The image should be saved to a USB stick creating a bootable medium.
3. In the computer where we will be installing LinuxCNC, enter the BIOS and enable the USB boot option.
4. Place the pendrive with the installation image in the USB socket of the computer and start the computer
5. Select the Install (Graphical) option

6. Select the installation language

7. Choose the time zone location

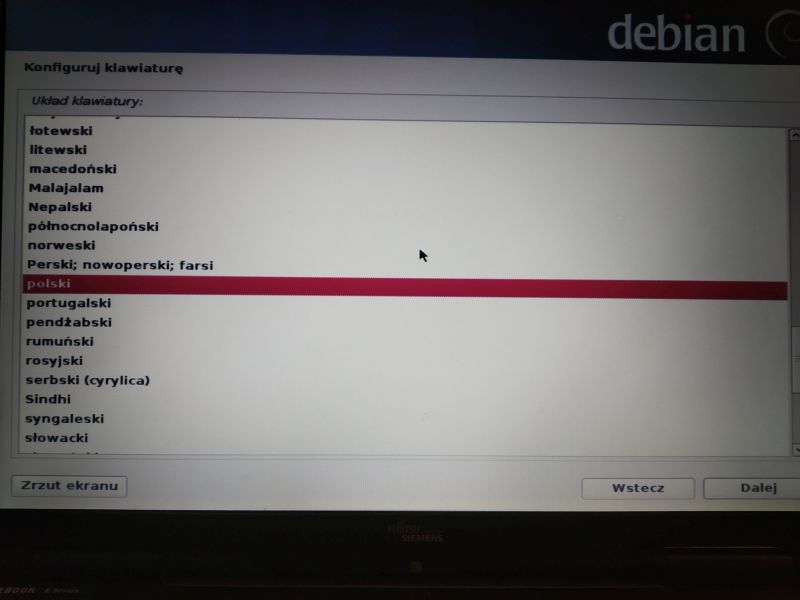
8. Choose the keyboard configuration
9. Choose the web interface for installation
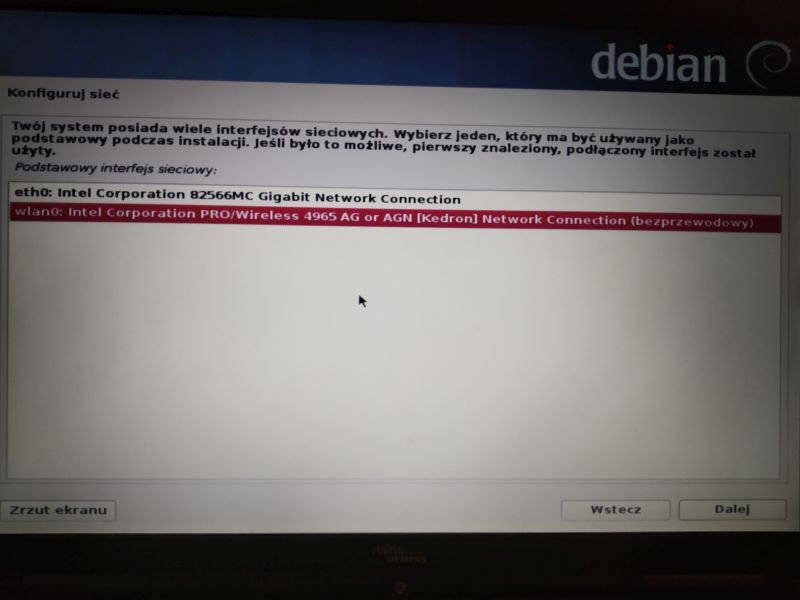
10. Choose the network
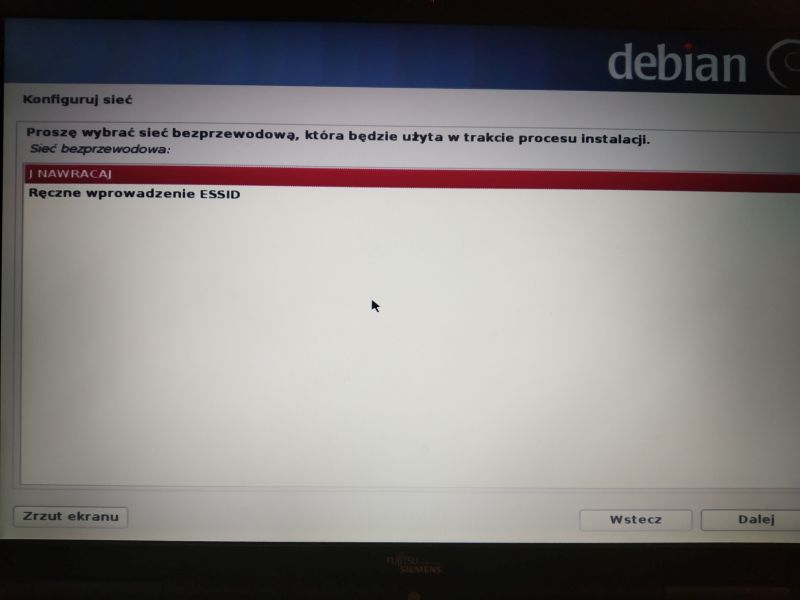
11. Choose the type of security your network has

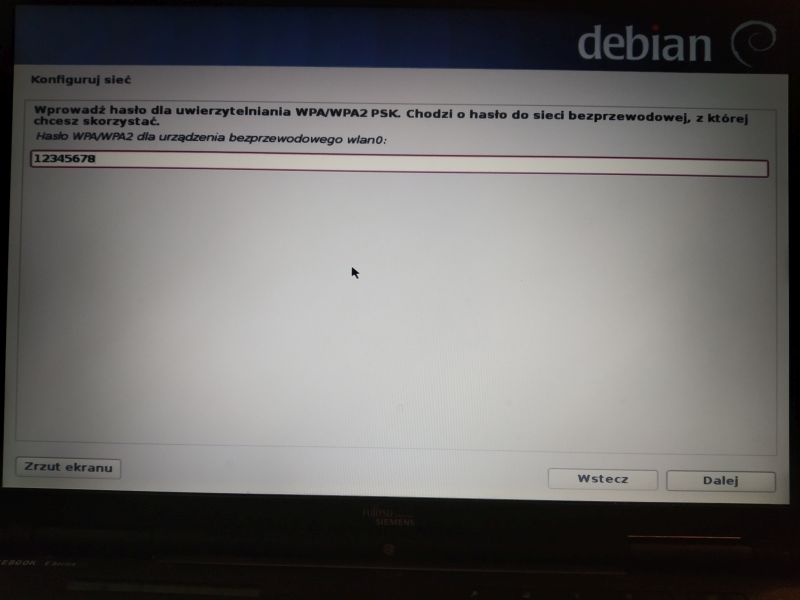
12. Enter the password for our network
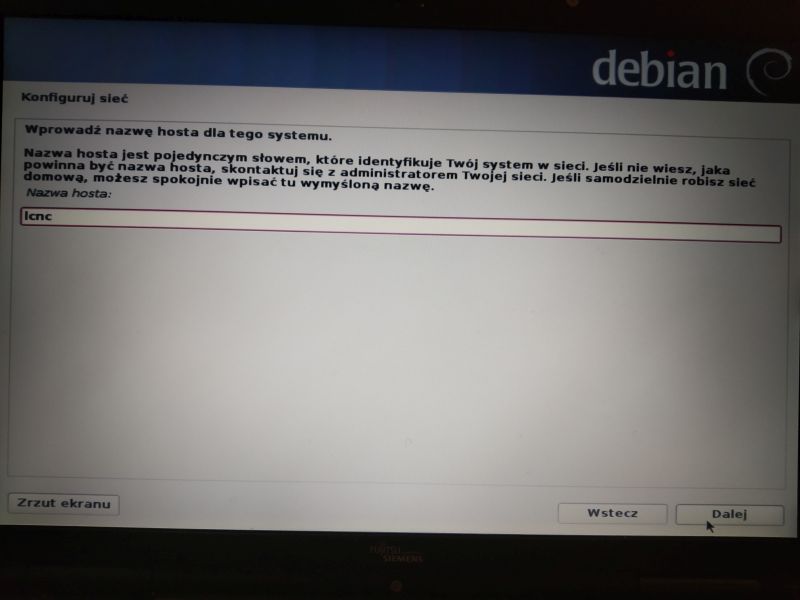
13. Enter the host name
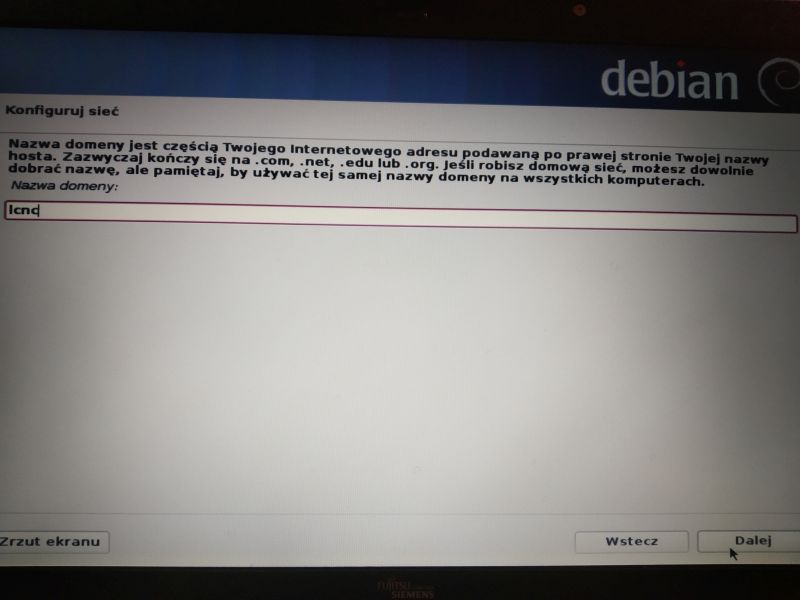
14. Enter the domain name
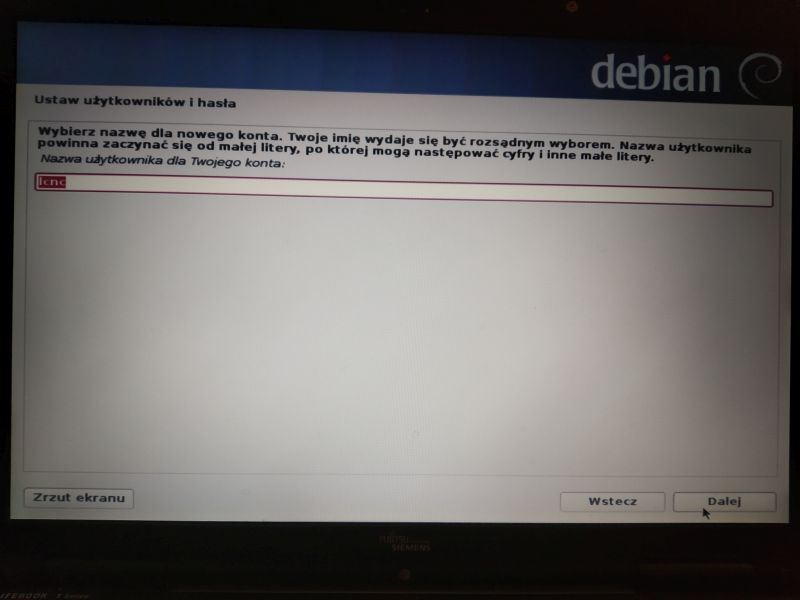
15. Enter the username
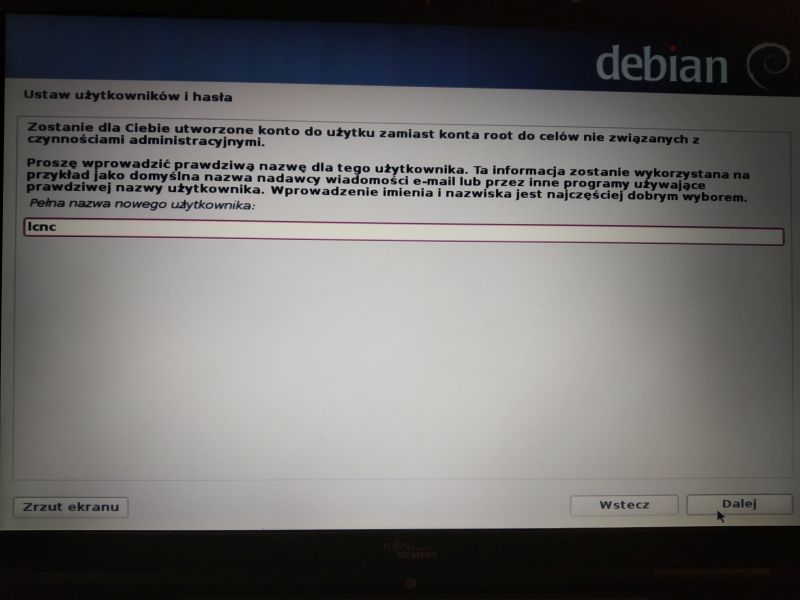
16. Enter the name for the new account
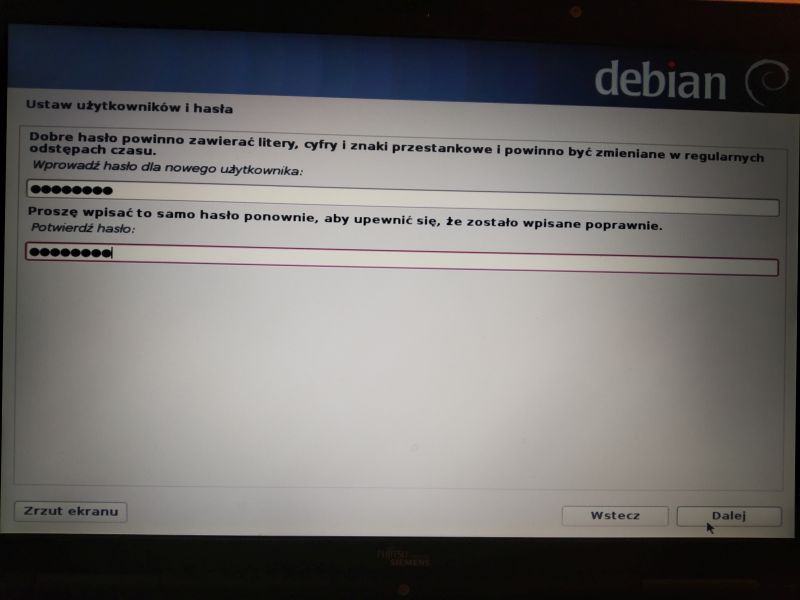
17. Enter your own user password
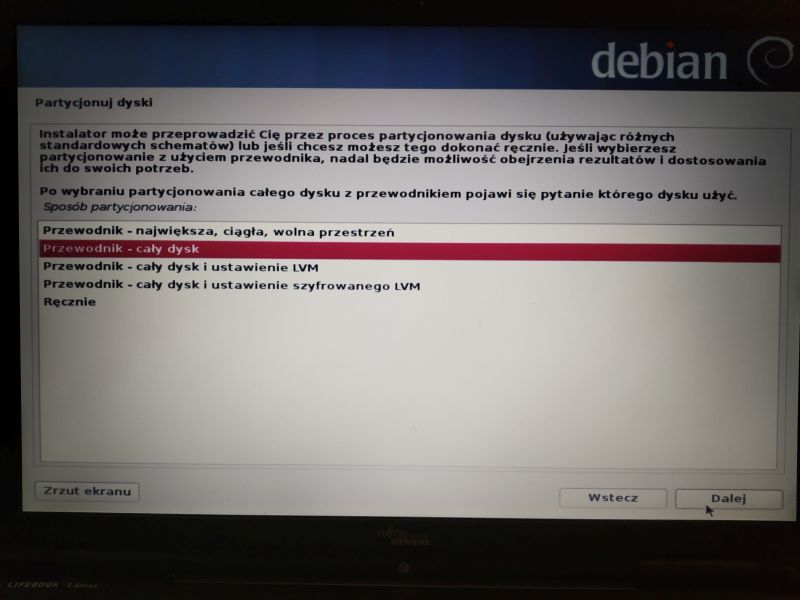
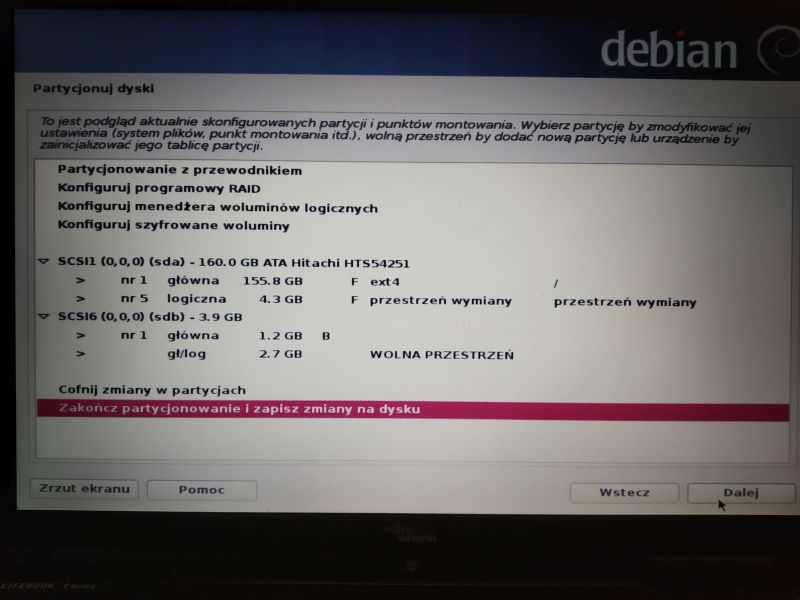
18. Partition disks. If we do not have special requirements and experience, we choose the Guide - whole disk option
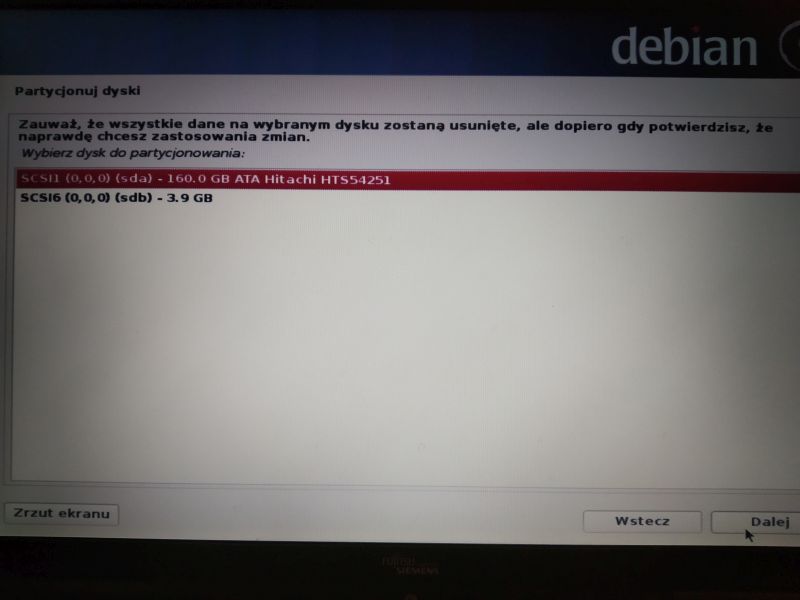
19. Select a disk for partitioning
20. We are finishing partitioning
21. Save changes to disks
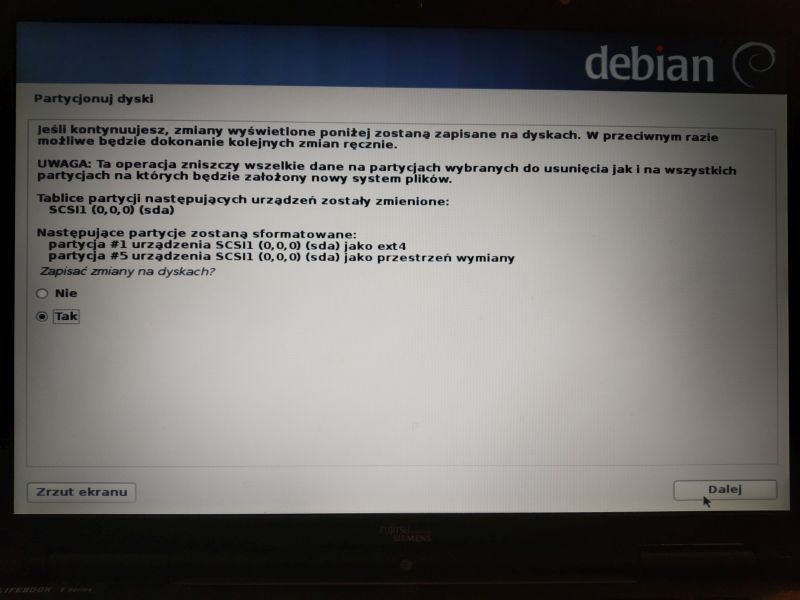
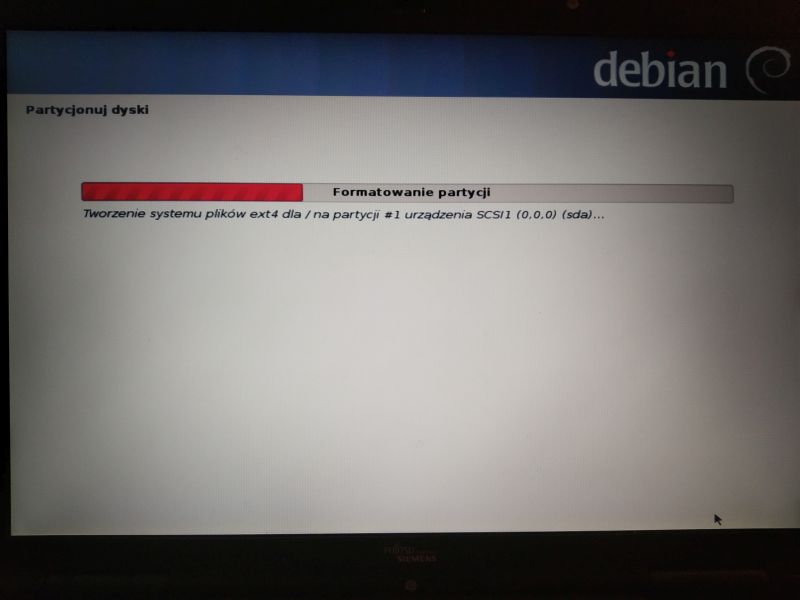
22. System formatting and installation will start.

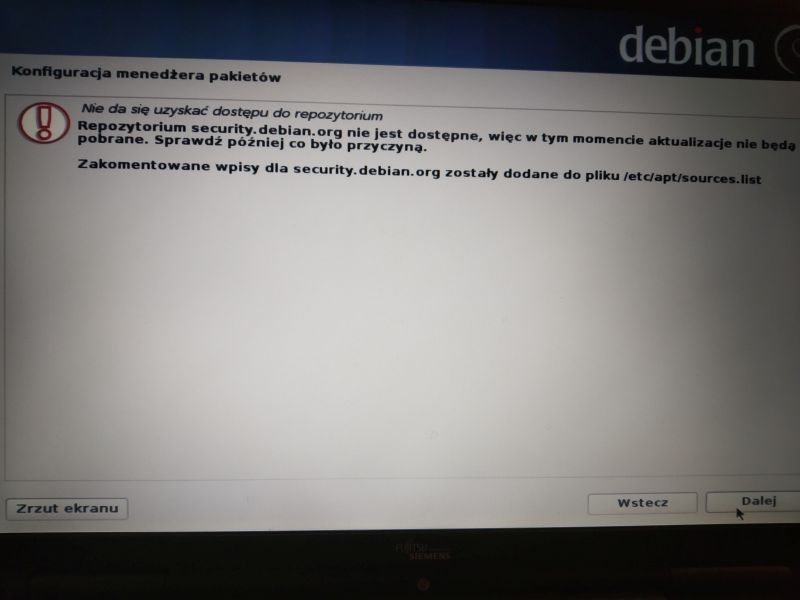
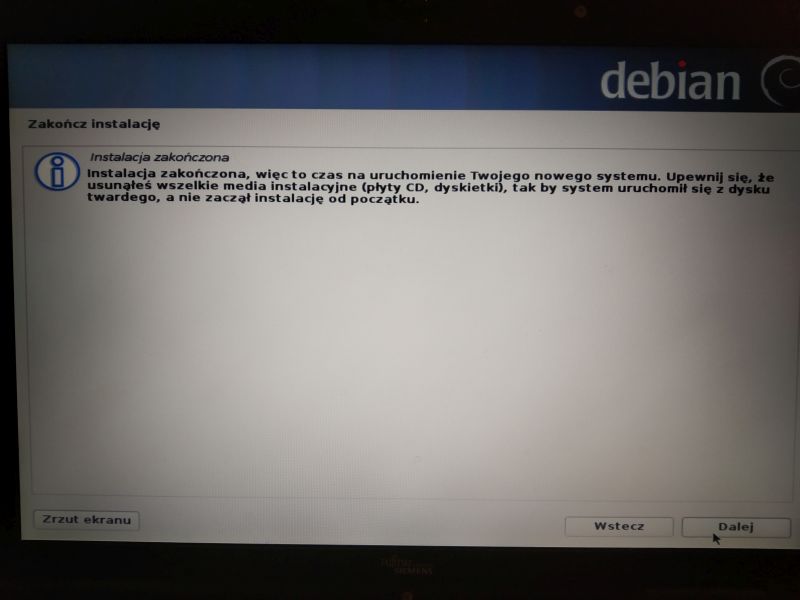
23. Because the system is no longer supported, we will receive information that the repository could not be accessed. We move on.
24. We remove the pen drive and next
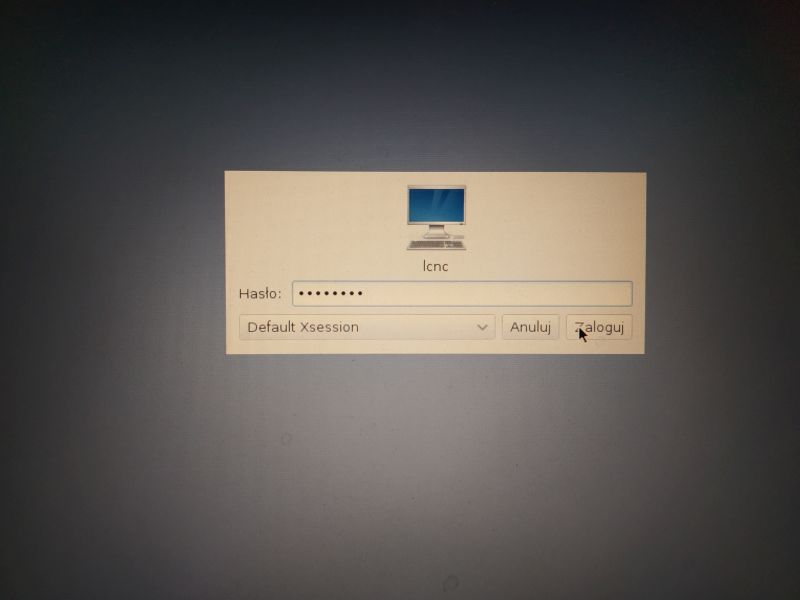
25. The computer will restart and start the system. We enter our login and password.

26. Choose to create the default panel
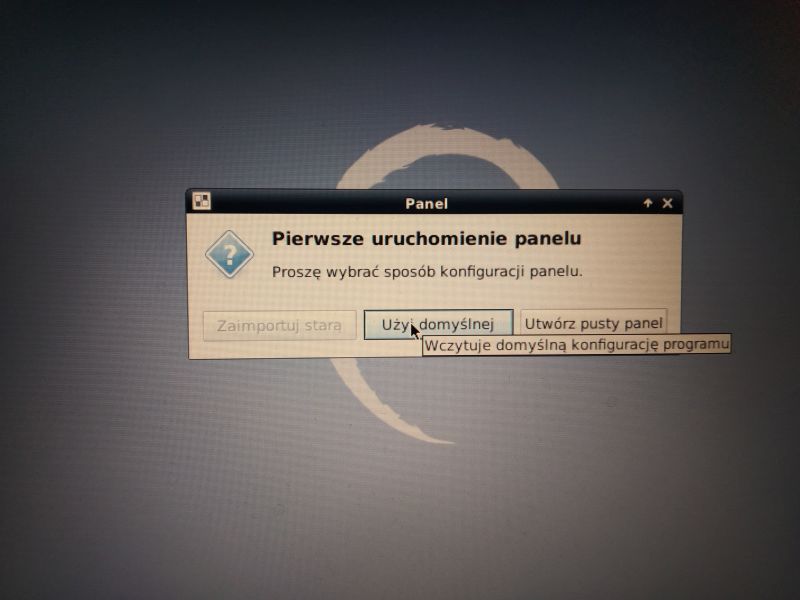
The system is ready to work.
I recommend performing 2 more steps - enabling automatic login so that you do not have to enter your login and password every time you turn on, and disabling the screen saver.
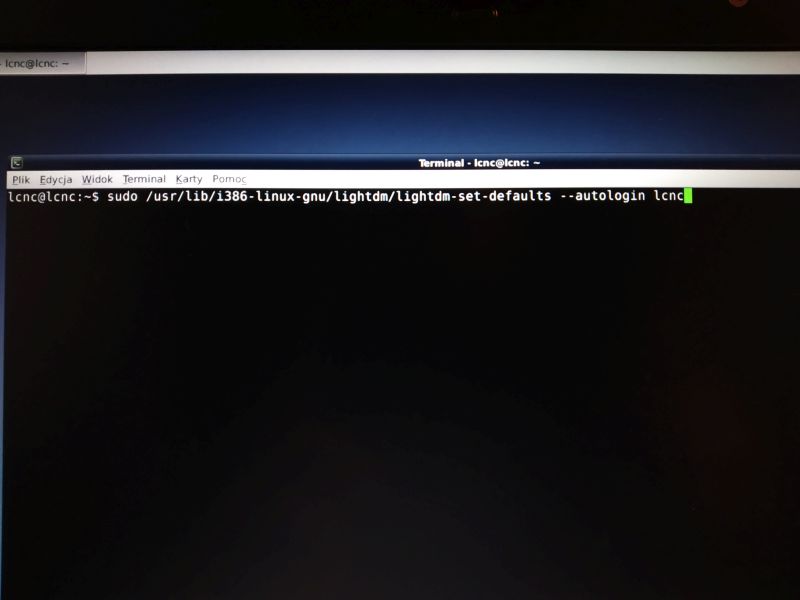
1. Autologating
We run the terminal emulator and enter the command:
sudo / usr / lib / i386-linux-gnu / lightdm / lightdm-set-defaults --autologin username
where as username we enter our own username. We press Enter.
Enter the password and press enter.

The computer will log in automatically the next time it is started.
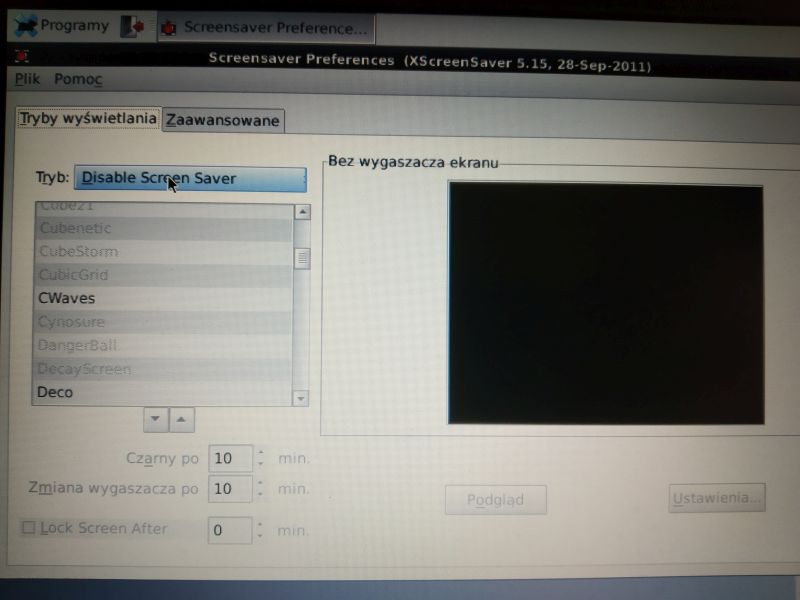
2. Turn off the screen saver
We go to Programs-> Settings-> Screen saver
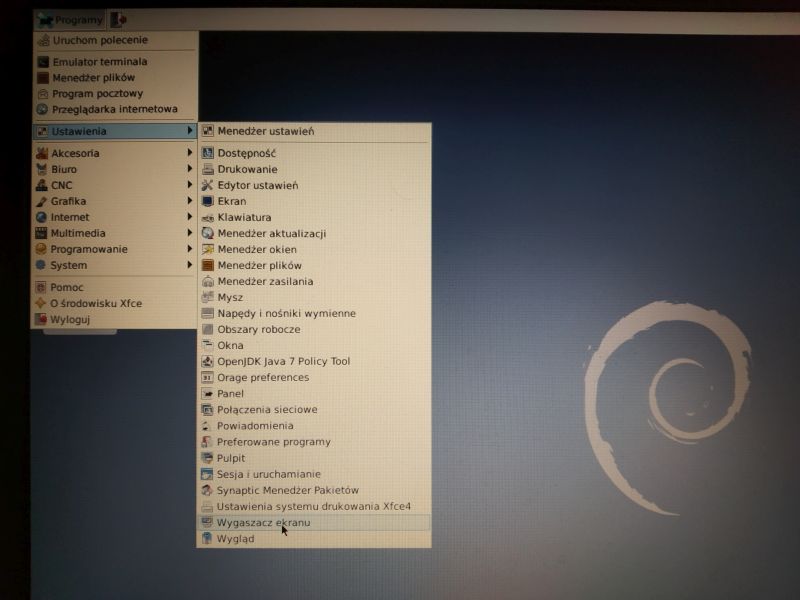
Celect Disable Screen Saver mode and close the window